
Keep the product central
Describe form, material, color and the details that need to remain visually important.
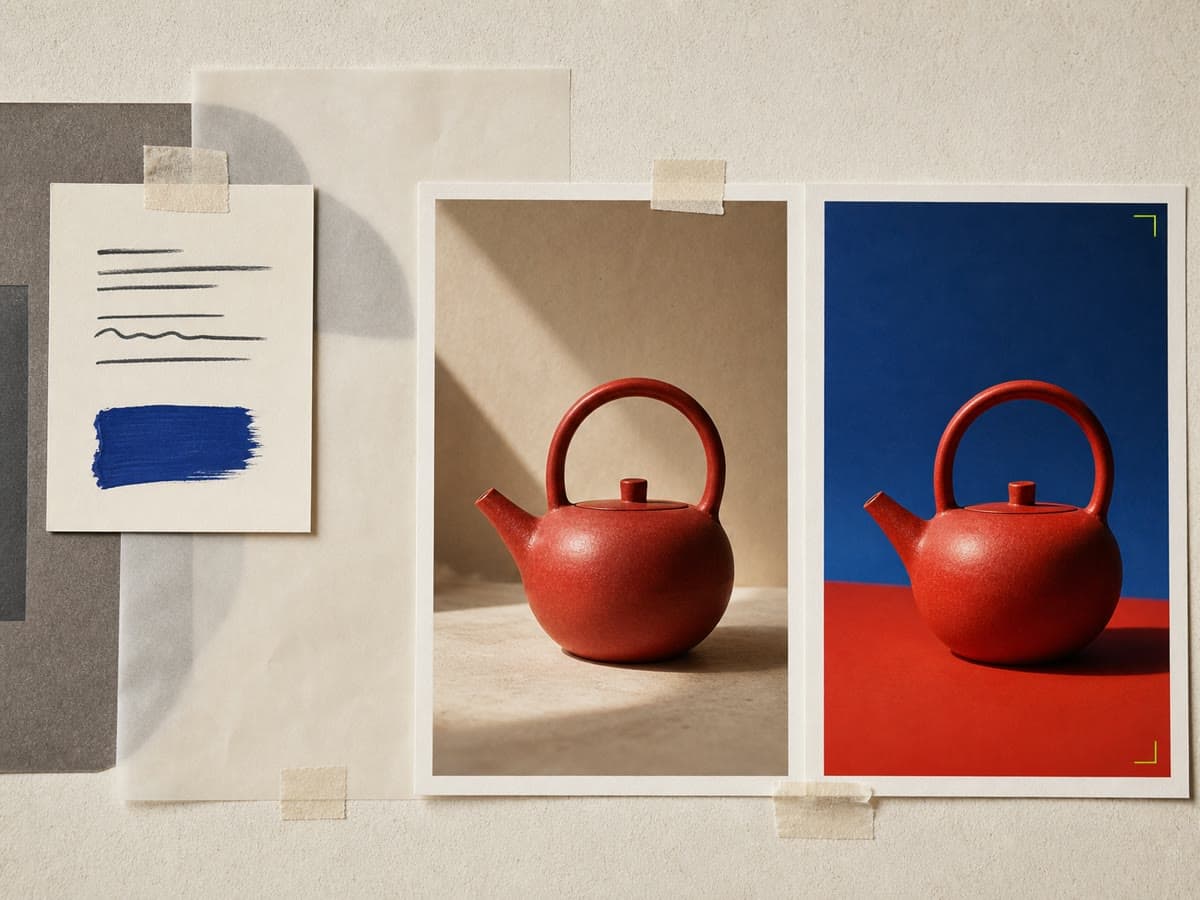
Describe the object, setting, surface, camera and light as one coherent photography direction. Generate a private product image ready to review and finish.
Describe form, material, color and the details that need to remain visually important.
Direct surface, background, props, camera and light as one intentional scene.
Keep the output private, then edit, resize, animate or place it in an editable design.
Name the object, material, color, form and recognizable features.
Set studio or lifestyle environment, camera angle, lighting and composition.
Create the image and continue from the Library with edits, formats or motion.
Yes. Describe the environment, surface, props, camera and lighting required by the shot.
The Create workspace supports compatible reference imagery when the selected model and job allow it.
Yes. Open the completed image from the Library or use the product-photo-to-video job.
Define product, setting and light, then create one private image ready for the rest of the workflow.
Generate product photography